Getting the picture (10): the work after work
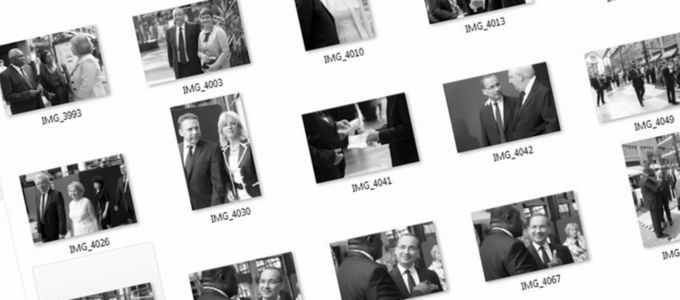
The photos are in the box—but the work isn’t quite done yet. Which photos are best suited to publish? And how do you prepare them for publication? Here are a few simple tips from the field.
-
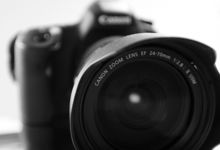
Quality, not quantity!
Photo: Oliver Rütten
-
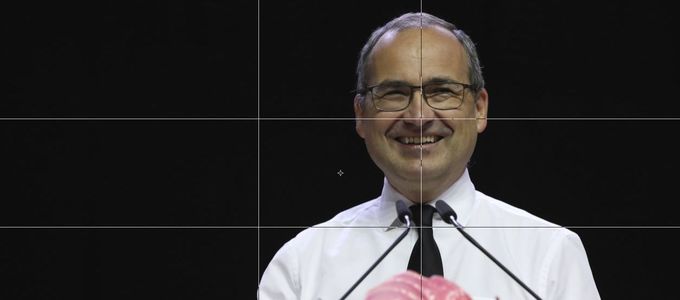
Staying within the framework
Photo: Oliver Rütten
-
Light and shadow
Photo: Oliver Rütten
-
Showing your true colours
Photo: Oliver Rütten
-
When size matters
Photo: Oliver Rütten

The digital age has unleashed a flood of images on the world of photography: instead of merely a dozen photos on analog film, we can now accumulate hundreds of pictures on our memory cards. For divine service photographers this means that, even after returning home from your mission, there are still some important steps to follow on the computer.
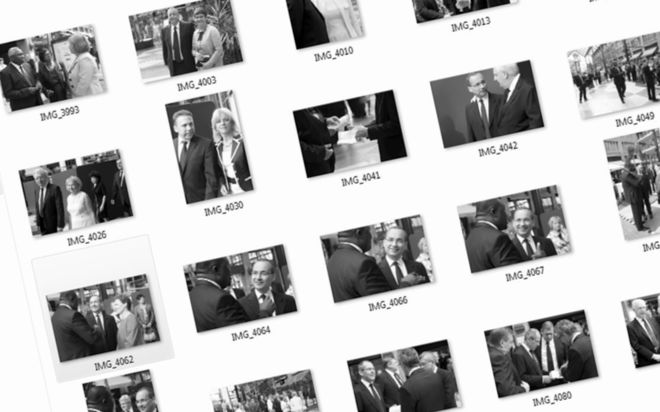
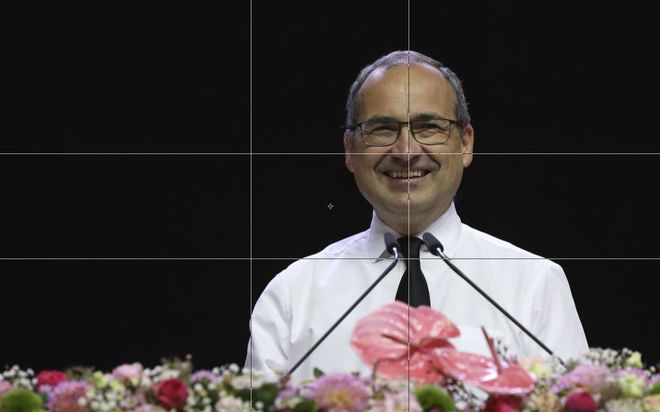
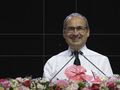
Quality, not quantity!
When it comes to publishing photos, it is not quantity, but quality, that counts. Already when making his preliminary selection, the photographer can influence how his work will be received. The selection criteria are as follows:
- how captivating, interesting, emotional, or expressive is the photo?
- how well is the photo structured in terms of division, density, and proximity (more on that here)?
- does this photo offend any particular sensitivities, or perhaps even violate the personality rights of the persons depicted?
Staying within the framework
You do not necessarily need the more expensive industry leader Photoshop for this. Free alternatives, such as the classic Gimp, will do the job just as well.
That is how photos can be improved with very little effort and expense: did you fail to capture the perfect “golden ratio”? Is a foreign body disturbing the overall picture? Here the trimming tool can be of help: you simply draw a frame around the appropriate part of the photo and cut it out with a click.
Important: when processing photos, only use copies, but leave the original untouched.
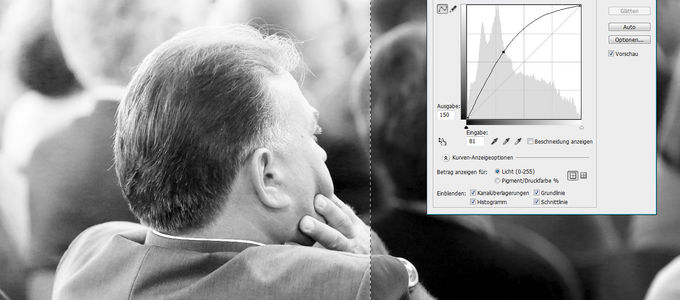
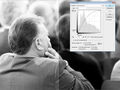
Light and shadow
Capturing just the right amount of light is among one of the greatest challenges of photography. Here too, a little processing after the fact will help. Mind you, the eye can deceive in the process.
After all, what you see on the screen depends on various settings, as well as the light in the room. However, the histogram—a bar graph of the brightness distribution—will provide you with neutral information: if you see “mountains” on the left, the photo is too dark, while “mountains” on the right tells you the photo is too bright.
Three different tools can be used to remedy these problems:
- brightness and contrast: with one slider for each, you can change the overall brightness as well as the brightness differences in the photo; suitable for beginners.
- levels: three sliders control how bright the brightest point is and how dark the darkest—and where the mid-point between them should be.
- gradation curve: the manipulation of a curve allows for the fine tuning of all brightness zones; a tool that is more suited to those with a knack for the job.
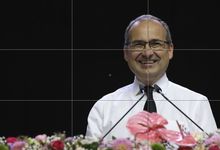
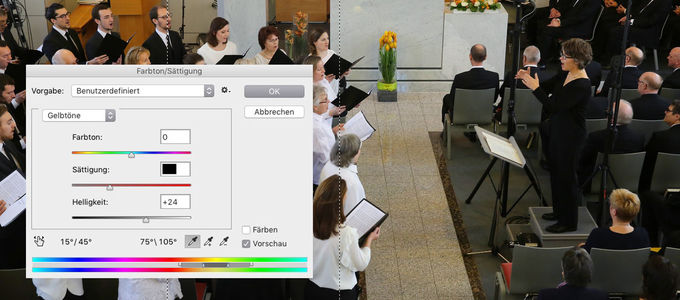
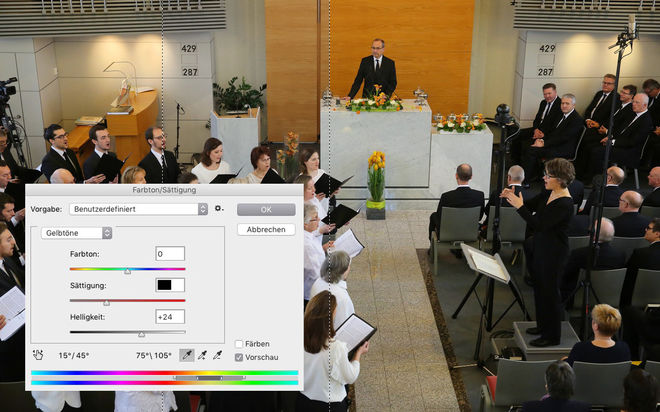
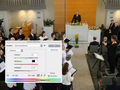
Showing your true colours
Going a step further, you can also correct the colouring if needed. The tools of choice here are the “Hue/Saturation” sliders.
- If a photo is just too dull or too flashy, the “Saturation” slider will prove helpful.
- If the photo has a colour cast, the “Hue” slider is what you want.
But be careful: especially here, the motto, “Less is more” applies. Photos can quickly begin to look unnatural if you play with the colour too much.
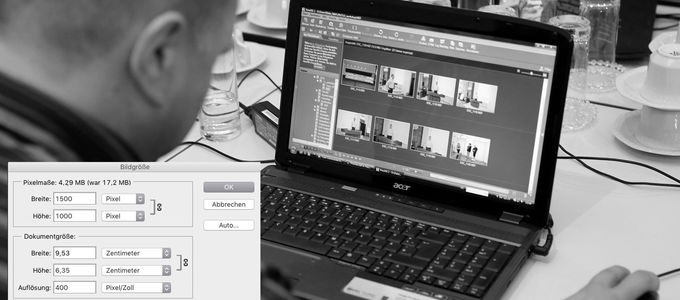
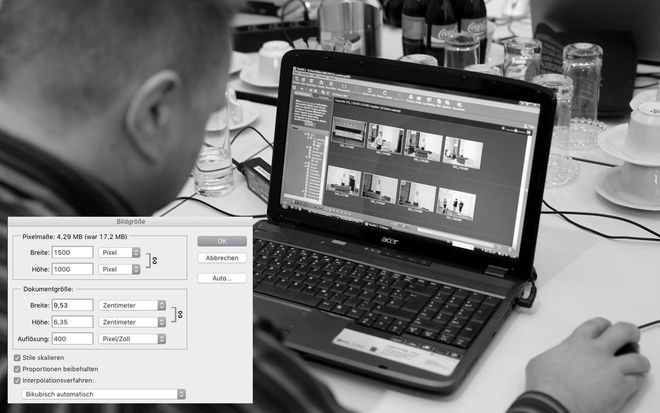
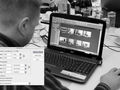
When size matters
Those who want to deliver the best in quality should be sure to set the camera menu to the highest possible resolution even before taking any shots. That way there will always be room for corrections.
Mind you, it is not always necessary to deliver the highest resolution in the end. Websites shouldn’t require more than 1,500 pixels on the longer side. Photos can be reduced using the “Resize” function. Here the important thing is to maintain the original proportions.
If you need to deliver photos for print, you are best advised to submit the original size. And if your photos happen to be needed for a magazine, for example, the professionals there would likely rather perform any corrections necessary themselves.
In any case, the same applies for all involved, whether in the post-processing or preparation phase: talking to one another always makes the work easier.